Paint pour rocks are such a lovely messy craft – and is great for all ages! And they are so easy to make – the hardest part is waiting for them to dry so you can play with them.

What you need:
Large rocks – I found some river rocks that were around the size of my palm work well. They should be nice and smooth, with a flat(ish) surface.
PVA Glue
Acrylic paint – used a mix of colours including darks, brights, white and metallic
Some empty jars
A rack and flat tray to put it on
Scrap paper (to protect your surfaces, it will get messy!)
Stirring sticks
Modge Podge Sealer

Steps:
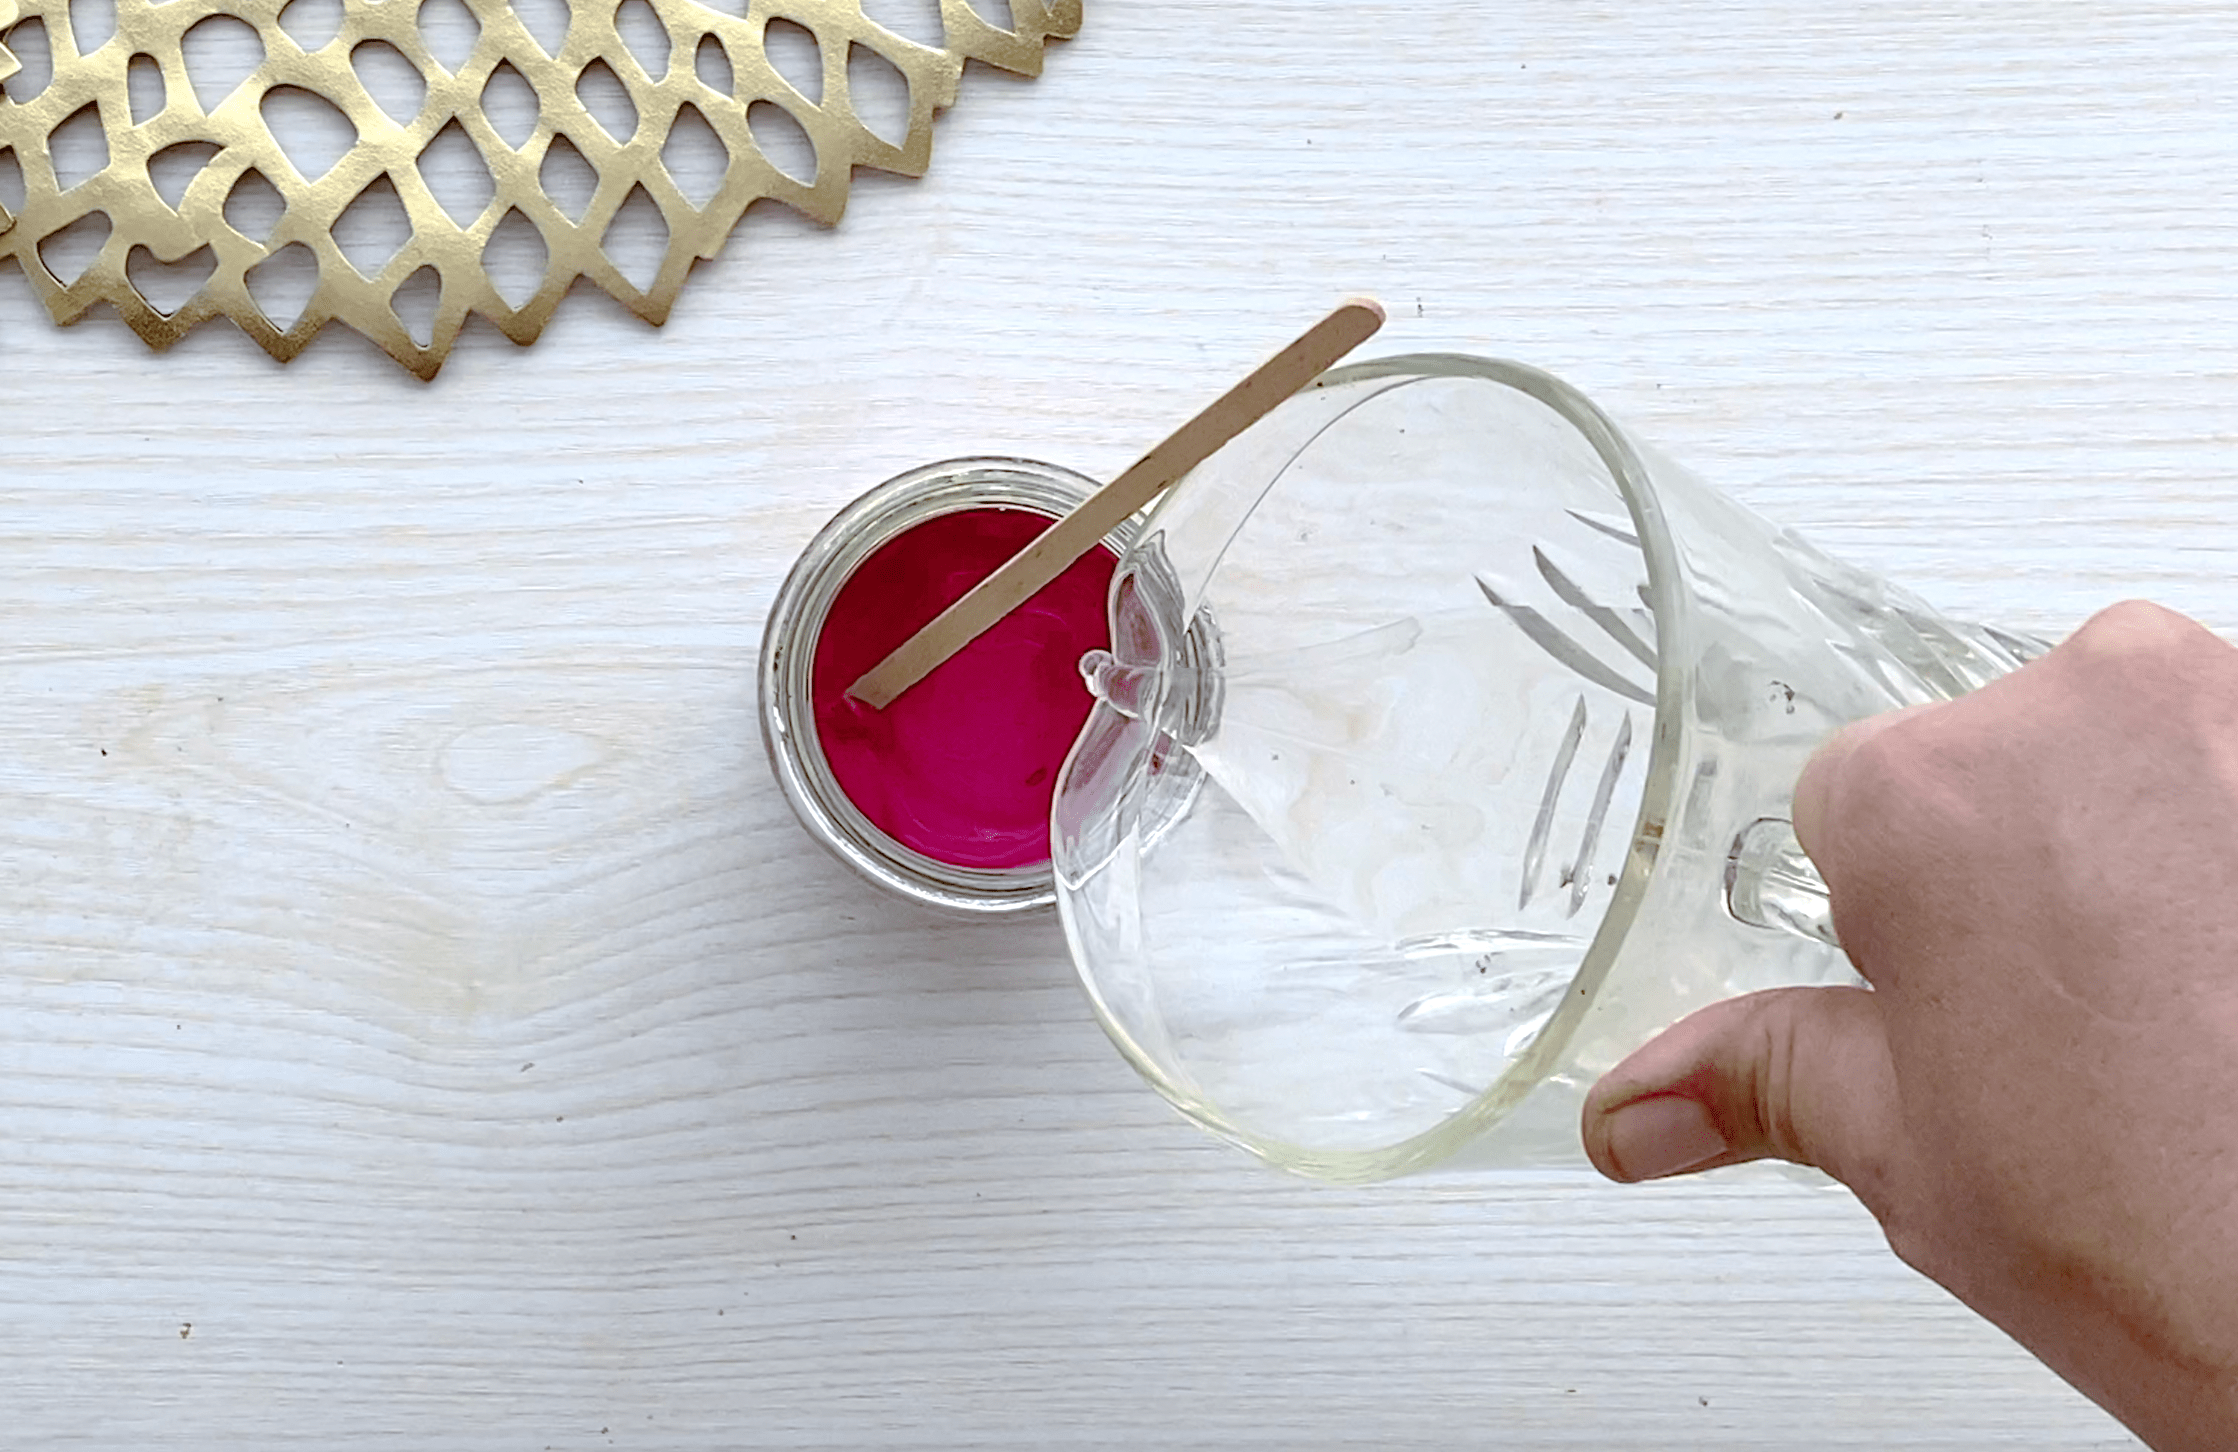
First make sure your rocks are clean and dry. Prepare your paint by mixing one part PVA, one part acrylic paint into a jar. If you need to, add a bit of water – the consistency should be like pouring cream.

Put your rocks on top of your rack. I placed a piece of paper underneath to gather the paint drips.
Now experiment with pouring techniques! You can pour colours one at a time, or pour colours in twos and threes. Be careful with how much paint you pour at a time, you don’t need a lot. I find a teaspoon at a time works well, you can always add more if you need to.


Lift the stone up and swirl the colour back and forth. You can use a stirring stick to help apply colour to parts of the rock where the paint won’t naturally flow.

Leave to dry on the rack for at least 24 hours, or until the paint is completely dry.
TIP: Use the paint covered paper to create some paint prints! Simply press one half of another piece of paper on top, and fold in half to create a butterfly pattern! Let dry, then you can use them for home made greeting cards.
Once the paint is dry, give a coat of sealer (I’m using Modge Podge, but you can also use clear spray paint.

First created for Create and Craft TV